Having a strong vacuum to clean up the mess around the house quickly and efficiently is an important part of home maintenance. Taking care of carpet and flooring properly is important to maintain resale value. A Dyson Vacuum is a high-quality vacuum cleaner known for its powerful suction and innovative design. It uses advanced technology to capture and remove dust, dirt, and allergens from your home. In order to keep it running, you will need to do maintenance. Wondering how to clean a Dyson? You will need a few tools to help you remove debris or dirt that is stuck in the filters, brush bar, and other areas.
Why You Need To Clean Your Dyson?
You need to clean your Dyson Vacuum regularly to maintain its performance and prolong its lifespan. Over time, the vacuum can become clogged with debris and dust, which can affect its suction power and efficiency. Cleaning it ensures that it continues to work effectively.
Tools Needed to Clean Your Dyson
To clean your Dyson Vacuum, you will need a few tools:
- A soft brush or microfiber cloth
- Screwdriver (if necessary)
These tools will help you remove any dirt or debris stuck in the vacuum’s filters, brush bar, and other components.
Steps To Cleaning Your Dyson
The steps to clean your Dyson Vacuum may vary depending on the model you own.
Here are the steps to clean it:
Step 1: Unplug the Dyson
Make sure you unplug the Dyson when you start the cleaning process.

Step 2: Canister Needs to Be Emptied
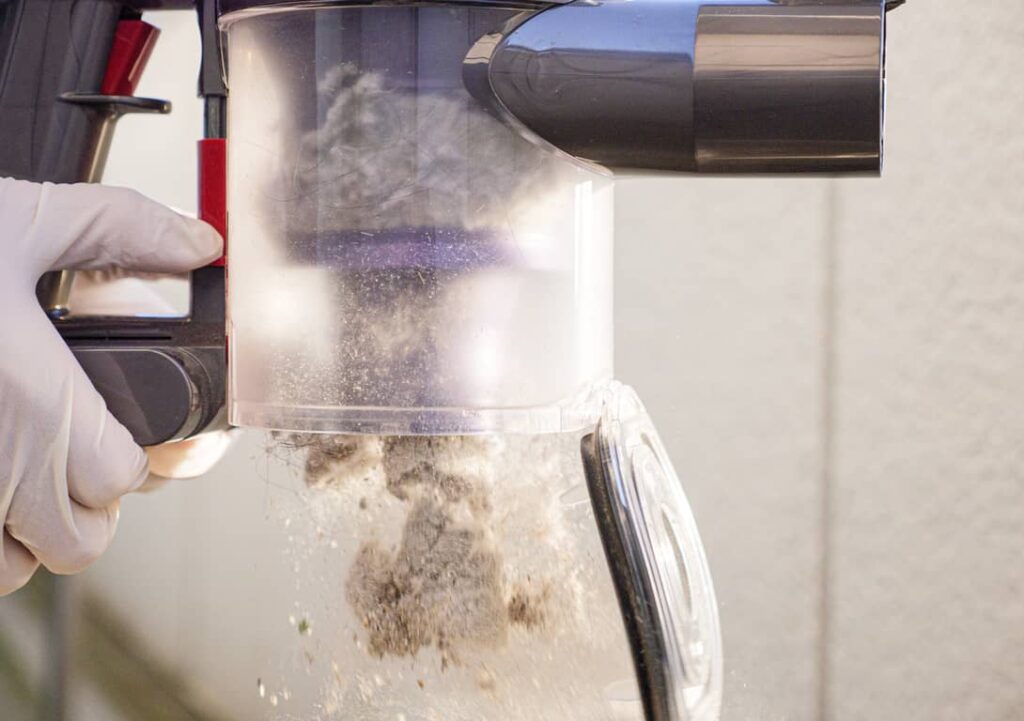
Standing over a trash can, use the red trigger button found near the handle and push it down. This will allow all the dirt and debris to fall out into the trash can.
Step 3: Clean and Wash the Canister
Using a damp microfiber cloth, reach into the canister and wipe it out. Don’t use any soap or submerge it in any water.
Step 4: Remove The Filter
Now that you have the canister clean and drying, next it is time to work on the filter. The filter is important as it picks up all particles such as pollen and dust and keeps them inside the vacuum. This protects the motor and the particles are not flying around in the air. Over time, the filter gets blocked and covered with dust and needs cleaning.
You can find the filter on the end that is close to the handle if you have a model that is cordless. If you have an upright model, there is usually a filter on top of the canister and sometimes in the floor head. Both of these will need cleaning. If you are unsure how to do this, refer to your manual.
Step 5: Wash the Filter and Set It Out to Dry
Once the filter is out, take it outside to remove any remaining dust. You can tap it gently to get the rest of it out. Then, bring the filter back inside the home and rinse it under cold water. Using your hand, gently rub it to remove any dirt that is left.
Now, you will use warm water. Fill it up with warm water and cover the openings with your hands. Then, gently shake it. Tip it over to get the water out. Repeat the process again until the water runs clear. Grab the filter and shake it to get the excess out and leave it to air-dry for 24 hours. It needs to be dry before replacing.
Step 6: Untangling the Brush Roll
Dyson’s are great as they pick up the long hair and pet hair in the home. However, they do get wrapped around the brush roll. When this happens, you will need to use a pair of scissors to cut the hair along the bar so you can get it out. Don’t pull the hairs as you can damage the vacuum. Also, be careful of the bristles as you are trimming the hair out.
Depending on the type of Dyson you have, there may be a soleplate covering the brush roll. Use a coin or flathead screwdriver to open it and put the plate off to the side. Don’t lose any screws that you had to remove.
Step 7: Look for Blockages in the Hose
After cleaning if your Dyson isn’t working, there may be a blockage in the hose. Grab something long and then, such as a mop handle to see if you can push it through to dislodge the blockage.
If that doesn’t work, soak the hose for 10 minutes in warm water with white distilled vinegar before rinsing. This should help get the blockage out and let it dry out. If you have a stick vacuum, look at the hole that is between the hose and canister and see if there is a blockage.

Step 8: Attachments Need to Be Cleaned
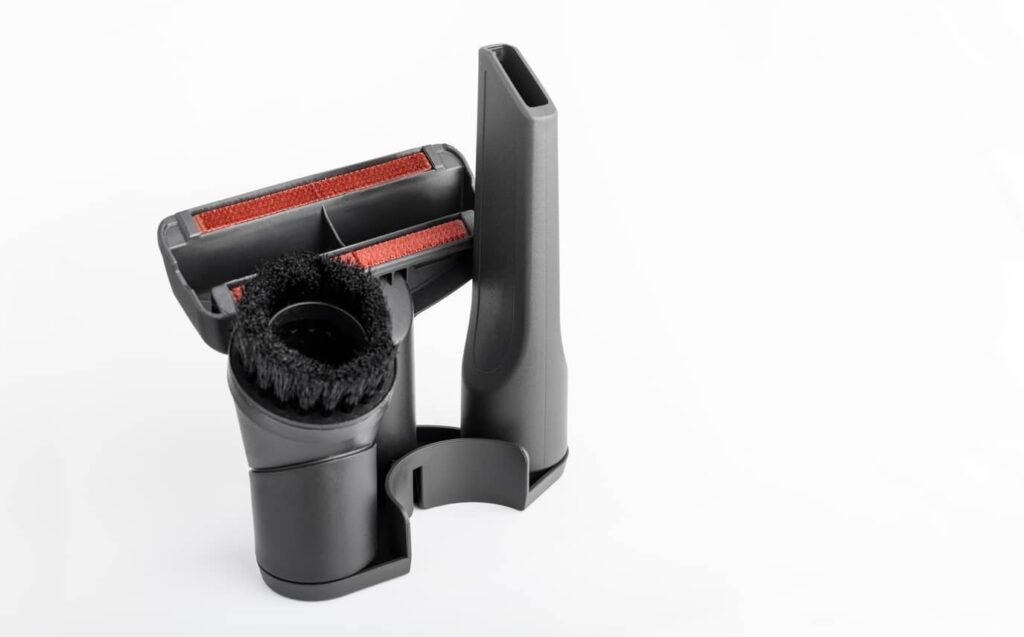
Take a look at the attachments also and make sure they are cleaned. Any dust and hairs that are trapped can be removed by hand. Using your microfiber cloth, wipe down the attachments as well.
Step 9: Cleaning the Exterior of the Dyson Vacuum
Use a damp microfiber cloth and wipe down the outside of the vacuum.
Step 10: After Everything Dries, Reassemble the Vacuum
Make sure you wait 24 hours for everything to dry and then put the vacuum back together.
Other Recommended Maintenance
Now that you know about cleaning a Dyson vacuum, there are a few other areas of maintenance that you should think about. One of those is regrouting without removing old grout. If you are finding while vacuuming that your grout is worn out, you can regrout without removing the old grout. There are tools and supplies that you need and to follow the directions on how to do this project.
Another area is resetting your Trane thermostat. If you notice that it is not working correctly, you may need to just turn off the breaker for 30 seconds and then turn it back on.
Lastly, if you find there is a dent in the wall, you can fix this easily. There are a few tools and supplies that you will need and can fix it up in no time.
When Do I Contact a Professional?
If you notice any unusual noises or smells, or if your Dyson Vacuum is not working as it should, it may be time to contact a professional. They will have the expertise to diagnose and fix any issues with your vacuum.
Conclusion
In conclusion, cleaning your Dyson Vacuum regularly is essential for maintaining its performance and prolonging its lifespan. By following the proper steps and using the right tools, you can ensure that your Dyson continues to provide efficient cleaning for years to come. While you are vacuuming around the home, you may see some areas you have questions about and may decide it’s time for a home inspection. Reach out to American Property Inspections for a full home inspection in the Clermont, FL area.

